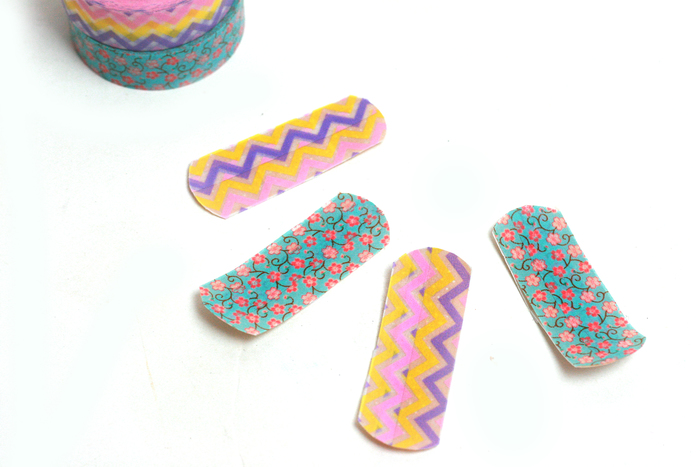
Save money and still look like an awesome parent by covering plain old Band-Aids® with Japanese Washi tape. You can now customize your adhesive bandages any way that you (or your child) please without having to pay extra for pre-made designer Band-Aids.
Steps
Designing the Band-Aids
-
Determine the types of designs you’d like to create on the Band-Aids. You have several options such as:
- Covering the whole of the Band-Aid or only a portion of it.
- Cutting out a shape in the Washi tape that will fit within the Band-Aid strip. Ideas for shapes include: a star, an animal's head or some letters.
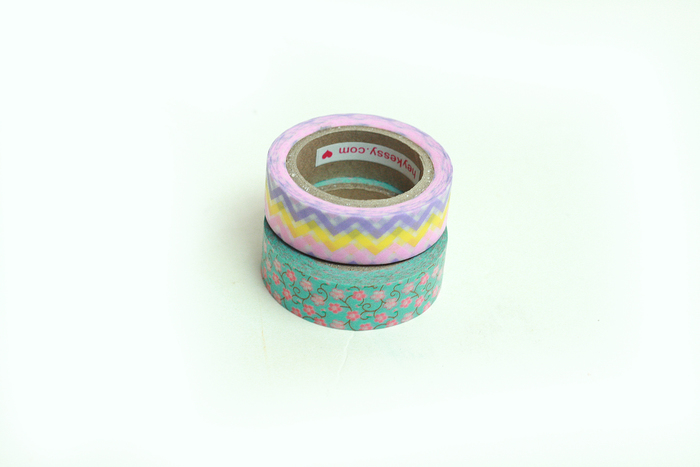
- You could even choose Washi tape that matches the colors or patterns of your child’s outfit.
Making a Bandage Kit for Storage
-
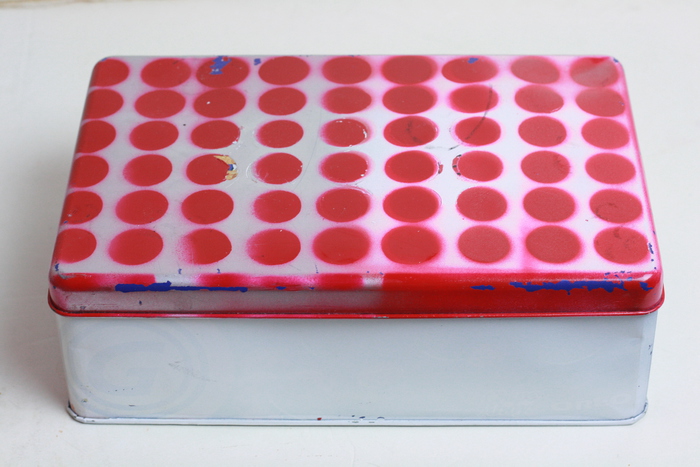
Create your own special bandage kit with a variety of shapes and sized Band-Aids covered in Washi tape. Empty out an old Band-Aid box or empty a small tin to keep your decorated Band-Aids.

- As well as Washi tape-covered Band-Aids, keep antibacterial cream or soap in this bandage kit for quick and easy clean up after scrapes, cuts and bumps.
Creating the Washi Tape Band-Aids
-
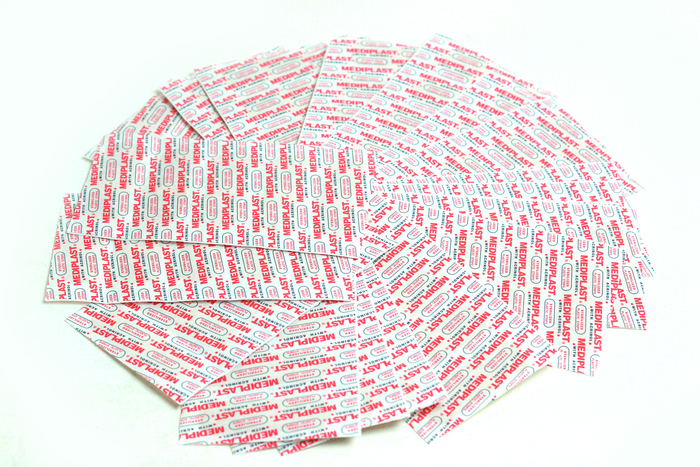
Obtain the desired number of Band-Aid sizes and shapes. Consider keeping a one-month supply on hand at all times.
-
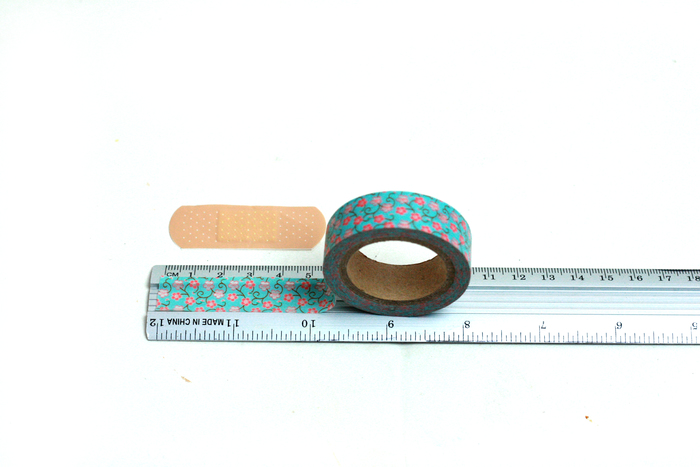
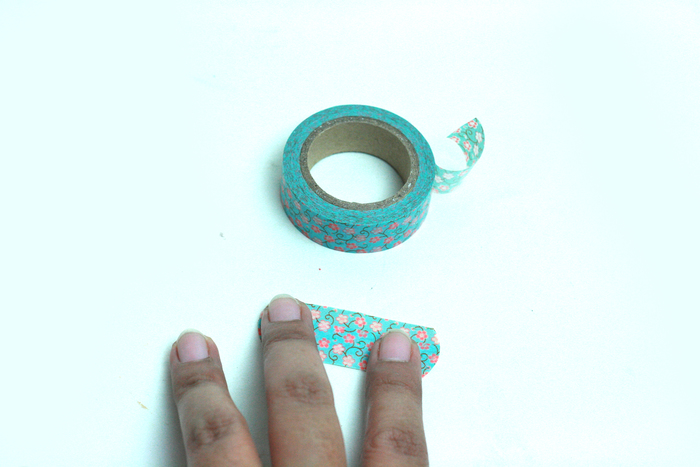
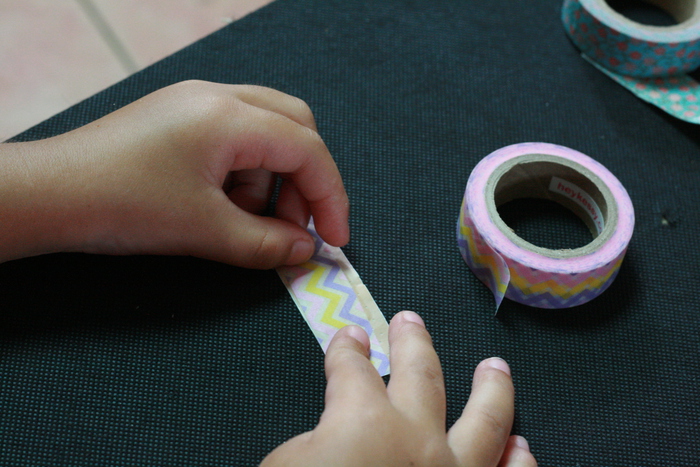
Measure the first Band-Aid. Transfer the measurements to the first piece of Washi tape.
-
Cut the Washi tape to size (or in a shape if using one). Apply to the top of the Band-Aid. Smooth out any wrinkles, then move onto the next piece.
Involving your Child
-
Set up an area where your child can make his or her own Washi tape Band-Aids. In some cases, engaging your child in a small craft will take his or her mind off any injury and bring the focus back to something fun.
- Find a shoebox or larger empty tin to keep your supplies. Include a pair of sharp scissors in addition to the Band Aids and assortment of Washi tape.
- Find a shoebox or larger empty tin to keep your supplies. Include a pair of sharp scissors in addition to the Band Aids and assortment of Washi tape.
-
Allow your child to select the Washi tape he or she would like to cover the Band-Aid with.

-
Measure and cut the Washi Tape for your child. Then allow your child to apply it to the Band-Aid independently (or with your assistance if needed).
-
Finished. Your child will delight in wearing the self-created pretty Band-Aids.
Tips
- Use Washi tape to cover and decorate a small cast.
- These can also be useful for craft projects if you need some pretty sticky things.
- Consider covering the band aid with washi tape after you apply the band aid to a wound. Band aids are packaged in sealed sterile airtight packing to stop bugs and dirt getting onto them, by taking them out of the packing and handling them to pretty them up you risk getting them and then your wound dirty.
Warnings
- Once the bandages are removed from their sterile packaging, they are no longer sterile, so keep this in mind if these bandages are going to be used on any but the most minor injuries.
Things You'll Need
- Band-Aids in different sizes and types (waterproof, etc.)
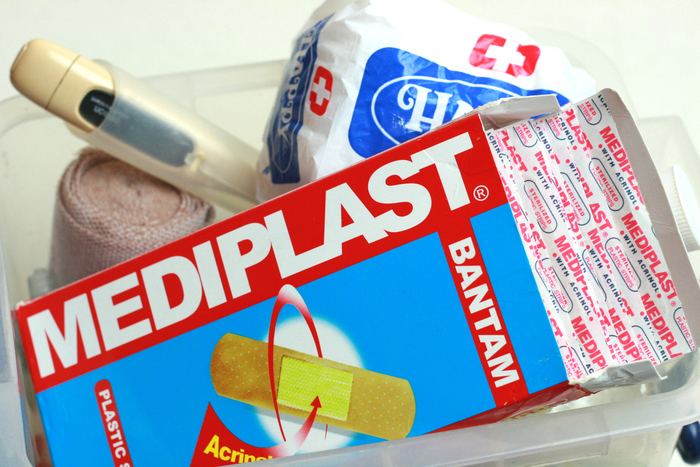
- Washi tape (from craft stores and big box outlets)