Looking for a fancy hairpin that won’t cost you an arm and a leg? Instead of dropping big bucks on a designer clip at a retail store, make your own using industrial strength glue and gems from home.
Steps
Choosing Clips and Decorations
-
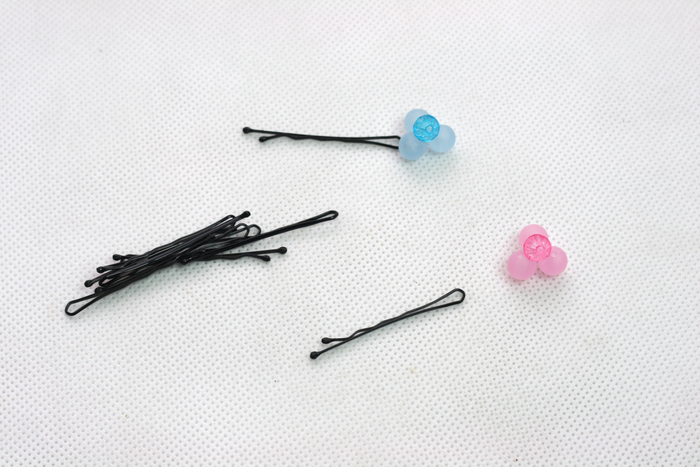
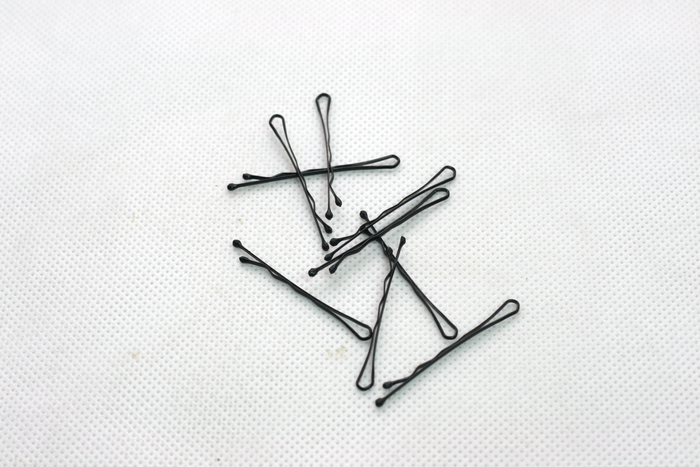
Decide on how many and what size bobby pins to dress up. To pull away a few errant strands of hair you may only need a few regular bobby pins. However, if your hair is thick or you would like to secure an entire section of hair, you may need quite a few larger sized bobby pins.
-
Consider what type of decoration you'd like to add. Are you looking to dress up an outfit or need something funky or unique to accent a new look? Your overall design plan will dictate your approach and what type of gems/accents you will need. Make sure not to over decorate. That could just make it look bad.
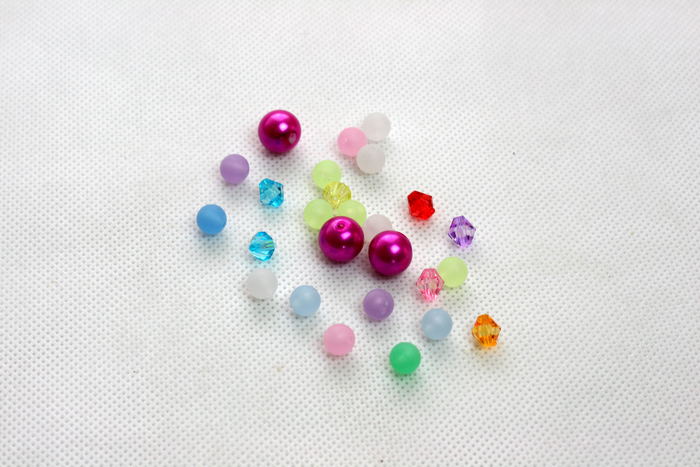
- Before you look outside your home, dig through your jewelry box to identify loose pearls, faux jewels or other pieces of broken jewelry that could be repurposed for your project.
- Head to the arts and craft closet at home because you may have the perfect accent piece hiding in a box or bag. Don’t discount anything until you have explored every possibility.
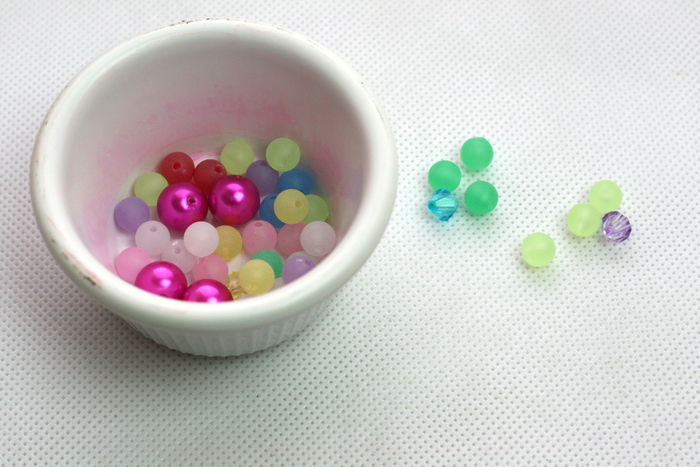
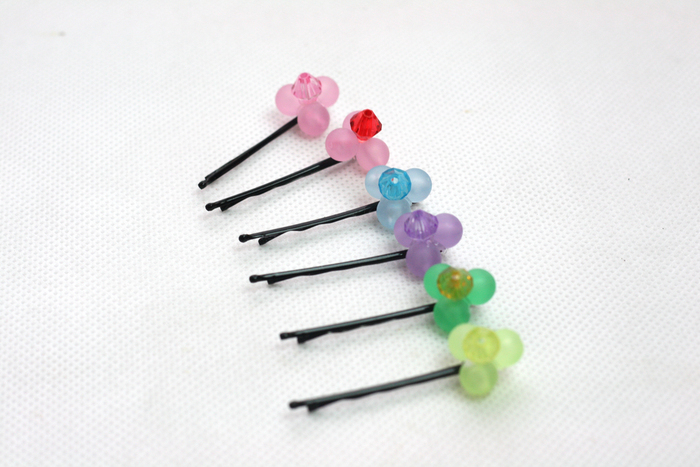
- Consider what you can create from your loot. For example, you could glue three faux pearls and a faux diamond together to create a flower that could be affixed atop a bobby pin.
Designing the Pins
-
Plan your clip design before you glue.
-
Try a sample idea first. Before you glue that pearl and diamond flower together, place the jewels in the design shape to see if they will really work.
-
Mix and match accent pieces to arrive at the best design. Play around with gems or accent pieces before making them permanent.
Gluing the Decorations in Place
-
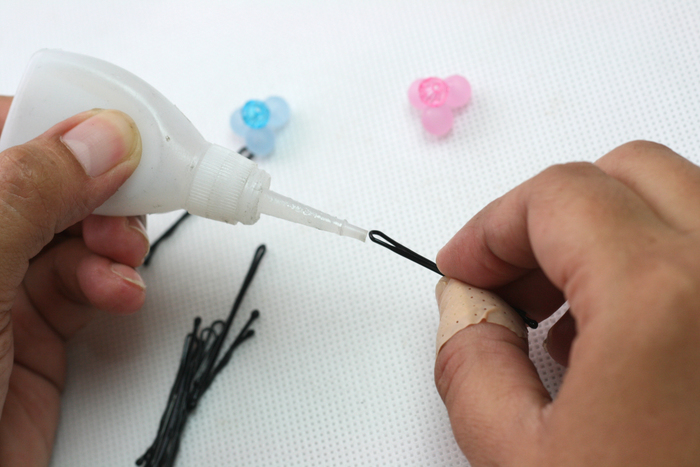
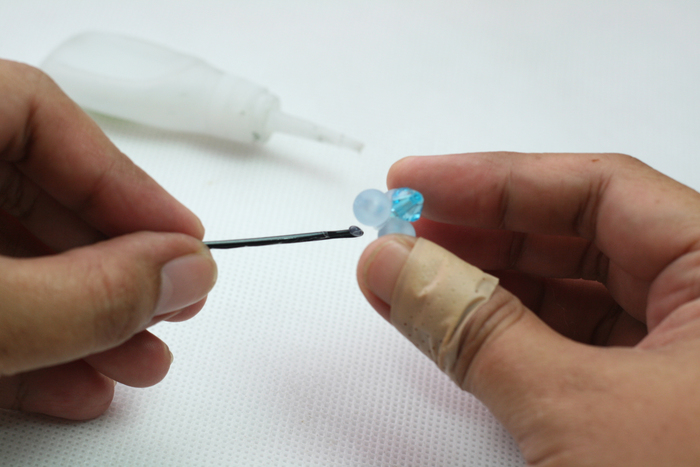
Apply small dabs of glue to the design pieces first. Then attach to the clip. If you are creating a separate design, you may need to first glue the gems together to make the design, allow the design time to dry and then adhere the completed design in its whole shape to the bobby pin.
-
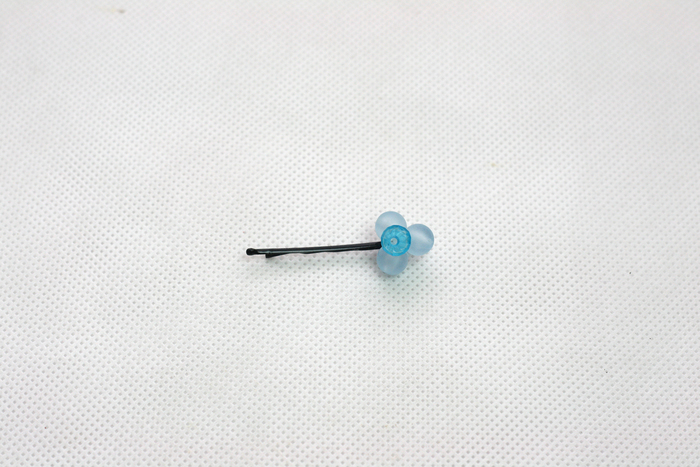
Let dry. Lay the bobby pins on a flat surface, away from pets or children for drying time. Even though the bobby pin may appear dry quickly, allow additional drying time so that the glue sets.
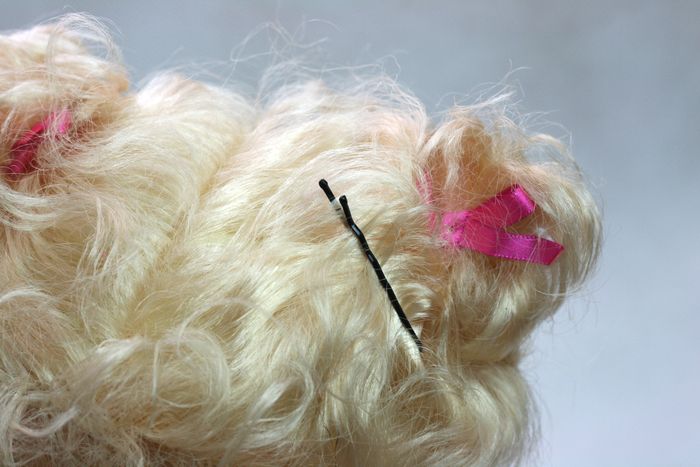
-
Finished. Wear your jazzed up bobby pins with joy!
Tips
- Trim away any glue that oozed from behind the design after it has dried.
- Check pins from time to time for adherence quality and add extra glue when needed.
Things You'll Need
- Bobby pins
- Artificial gems, beads, broken jewelry, etc.
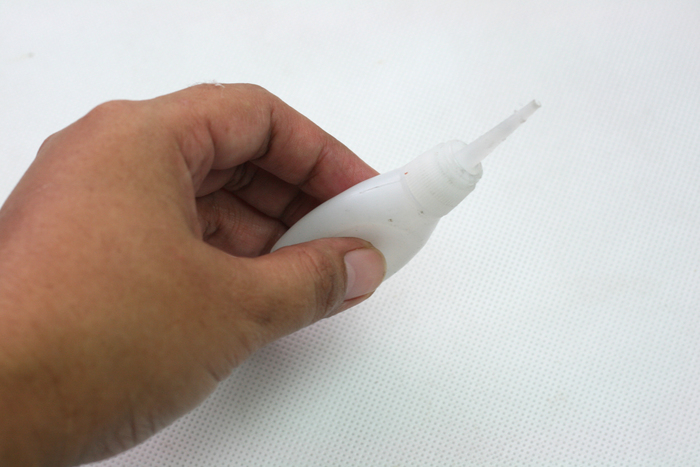
- Super Glue or industrial strength E-6000 glue