Many articles of clothing for women and girls of all ages have zippers, buttons, or other closures in the back. This can make it difficult or time-consuming to don or remove the garment without assistance. For this reason, you may be inclined to wear such items less often, even rarely. But if you know some tricks, problem solved. Garments with back closures can become your favorite, most beautiful, most comfortable clothes to wear, and you could find yourself wearing them almost every week.
Provided below are tips, tricks and techniques which will get you started down the path to becoming a back closure pro.
Steps
-
Ask yourself, "Do I really need to use the zipper/buttons"? Some back closures must really be open for the garment to be donned or removed. Others are only there for aesthetic purposes or can remain closed on certain figures. Since this could be the case, test the garment to see if it can simply be slipped on.
- If it is a blouse or dress, try pulling it over your head.
- Most turtlenecks, mock turtlenecks, sweaters, and T-shirts with zippers in the back feature zippers to provide the option of pulling the garment over your head without damaging your hairstyle or are there to make the garment extra fashionable. Often, they can remain closed during the pullover if one so wishes.
- If it is a skirt or slacks, and the waist is elastic, you may be able to just pull it on, either over your head (for skirts) or by stepping into it.
- Even if a zipper must be open, perhaps it need not be open all the way. For example, on some dresses with full back zippers, the zipper need only be open a few inches to allow the head and arms through. On some tops, the zipper need only be open to allow the head through. On some garments with back buttons, only the top button needs to be open. This may vary depending on figure.
- All this depends on figure and fabric. If a waistline is smaller than a bust and is not stretchy, the waistline must be open. For one who has a heavy waistline, it could possibly remain closed. Stretchy fabrics are more likely to be able to remain closed than the non-elastic.
- If it is a blouse or dress, try pulling it over your head.
-
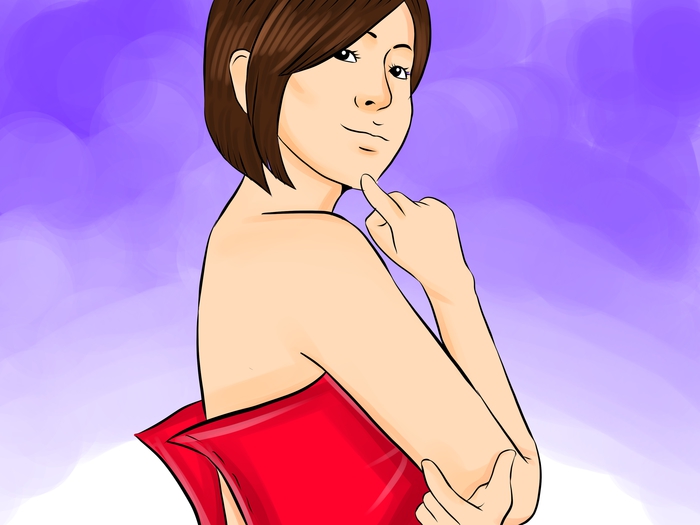
Know what parts of your back you can reach most easily. This varies with each person. Almost everyone can reach the back of their neck and waist with no trouble. This makes it easy to zip a skirt, skort, or slacks, to button a single button on the back of a blouse, or tie a single tie on the back of a dresser bathing suit.
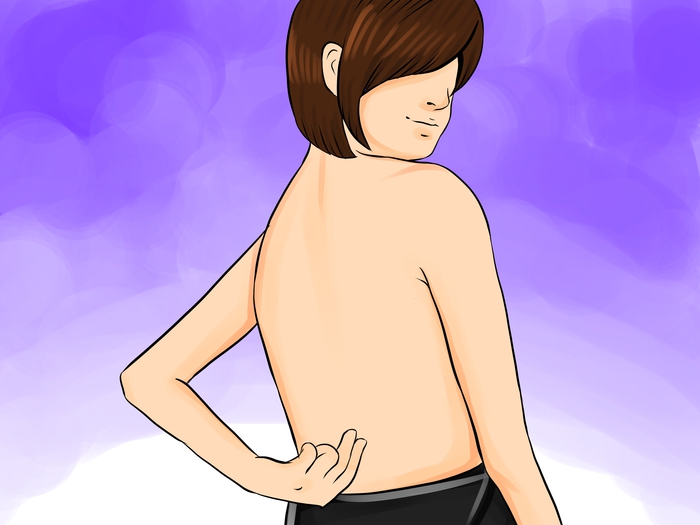
- To know what else you can reach, place your dominant hand over your shoulder and your weaker arm behind your lower back. Try to get your two hands to reach. If they can, you can reach every part of your back a zipper would cover with no trouble whatsoever.
-
Be happy if the garment is a skirt, bra, or bikini top. If so, there is some really good news. You don't need to reach in back at all. The same is true for some other garments too, including some dresses and blouses.
- For a skirt, simply put it on 'backwards' (closures in front), fasten, and rotate 180°. To be sure you have the zipper fully centered in back, check that the side seams are at your sides.
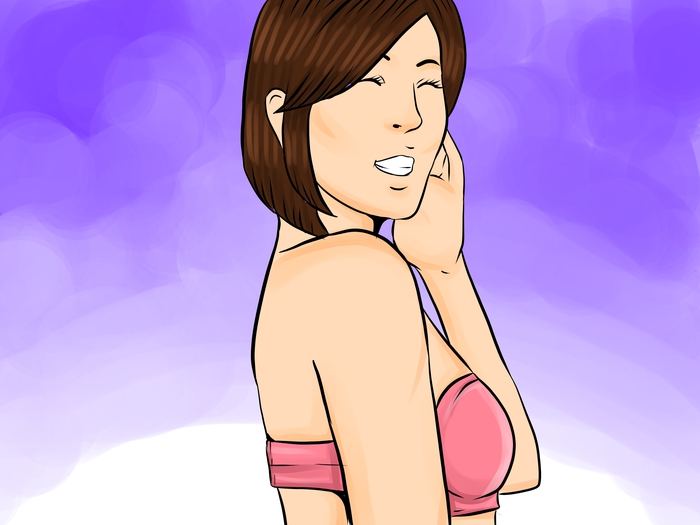
- For bras, fasten before putting your arms in the straps, rotate, then place your arms in the straps (they are usually stretchy enough to allow this).
- For bikini tops, do this, then you can tie easily at the back of the neck (see step 2), or tie in front then stretch over your head.
- For a sleeved garment, such as a dress or blouse, you can do this if you are able to remove your arms from the sleeves while fully fastened. To do this, put on the garment backwards, zip or button all the way, remove your arms from the sleeves, rotate 180°, then place your arms back in the sleeves where they belong.
- For a strapless dress, follow the instructions for a skirt.
-
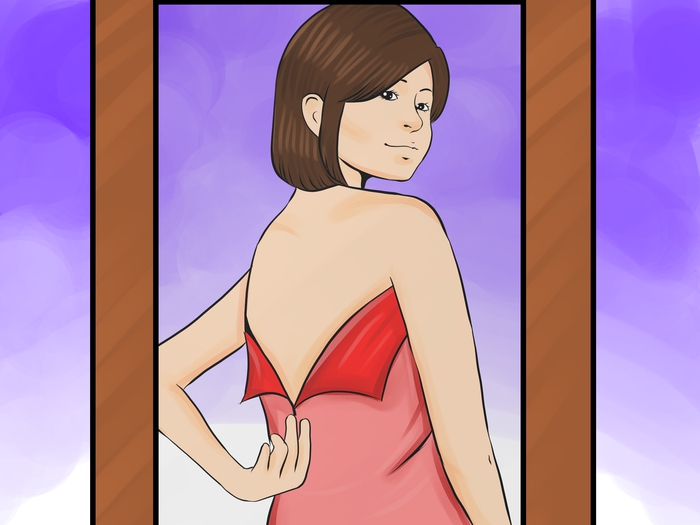
Use a mirror. This allows you to see what you are doing better. The mirror allows you to see exactly where you are placing your hands behind your back and is useful when you're a beginner.
-
Zip a dress with a full zipper. Many dresses have zippers that must be zipped all the way down to don/remove. If a dress is non-elastic and has a fitted waist and/or bust, this will most likely be the case. If so, your method depends on the type of zipper. Examine the pull tab of the zipper to determine what the method will be.
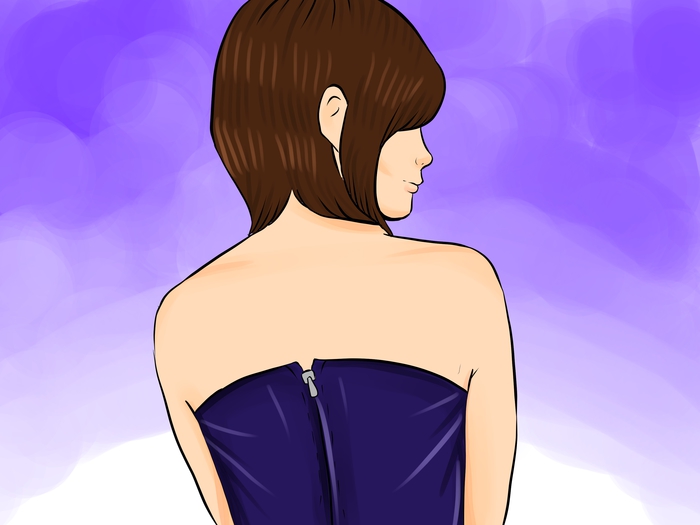
- If the pull tab has a hole in it, it is very easy to zip. There are two ways to do this. Either you can tie a string through it. Or you can use a hook-like object attached to a stick. Many common objects can fulfill this purpose, including those used for hanging pictures or a paper clip bent into the proper shape. Attach it to a stick-like object about 12-18" and there you have it - a zipper tool. To zip up the garment, you can either place it in the zipper's hole before getting into the garment. Or you can probably reach the zipper while the garment is on you (see step 2). As for undressing, if the zipper pulls up to the neck, you can easily reach it as in step 2. If it is at a lower point near chest-level, you will probably have more trouble doing it this way, but you could probably reach it with your hand and zip it down yourself.
- One option for zippers with holes is to attach a permanent pull strip that'll become a part of the garment. A 2-3" piece of leather, suede, or a matching strong fabric is best. To do this, thread the strip through the hole in the zipper, then tie it in the middle once or twice. The strip will then just become another interesting part of the dress. Some dresses actually come with such a strip included.
- If the pull tab has no hole, as in the invisible zipper that's been common in the 21st century, construct a tool as described above, but instead of a hook-like object, use a metal clip like the type found in an office supply store.
- Many zippers come paired with hook-and-eye closures. Many women disregard fastening them, though if they are fastened, the appearance is more flattering. If the hook-and-eye closure is at the back of the neck, it should be pretty easy to fasten. Using a mirror as in step 4 could help. If it is in the middle of the chest, use two metal clip and stick devices as described in the above step, clip one on each side of the fabric, and push together until you get them linked.
- If the pull tab has a hole in it, it is very easy to zip. There are two ways to do this. Either you can tie a string through it. Or you can use a hook-like object attached to a stick. Many common objects can fulfill this purpose, including those used for hanging pictures or a paper clip bent into the proper shape. Attach it to a stick-like object about 12-18" and there you have it - a zipper tool. To zip up the garment, you can either place it in the zipper's hole before getting into the garment. Or you can probably reach the zipper while the garment is on you (see step 2). As for undressing, if the zipper pulls up to the neck, you can easily reach it as in step 2. If it is at a lower point near chest-level, you will probably have more trouble doing it this way, but you could probably reach it with your hand and zip it down yourself.
-
Tackle buttons in the back. Buttons in back of a dress or blouse may seem more challenging than zippers. But they are not impossible, and they are more doable than you think.
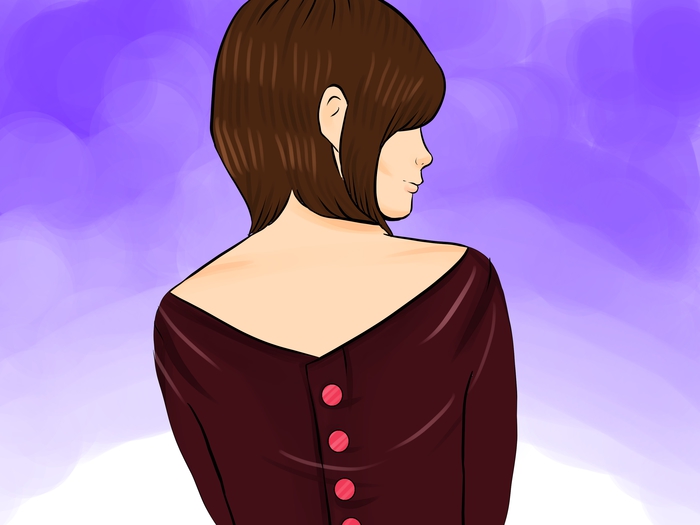
- A single button at neck-level is very easy, and is in fact quicker and easier than buttoning 6-7 buttons in the front of a classic button-down shirt. Wear enough of these tops and you will soon discover that. Ditto for 2-3 buttons near the top.
- If the top has buttons going about halfway down the back from the neck, determine how many of those buttons really need to be open to get the garment on and off. If only some of them need to be open, you may just be able to reach them like in the above step. If not, you can pull up the back of the garment until the lower buttons reach neck level, then button/unbutton them.
- If buttons run the full length of the back, it may sound tricky. But it is not hopeless. The good news is you can probably reach all but the middle buttons easily. The middle buttons may or may not be reachable by pulling up as in the above step. But they are probably below shoulder level. This means you can put the garment on backwards, button them in front, rotate the garment until the buttons are in back, place your arms in the sleeves, then button the rest. Try this a few times and you'll be a pro.
- Many garments with buttons in back are roomy enough that you can put them on backwards (as in step 3), fasten the buttons, remove your arms from the sleeves, rotate 180°, then put your arms back in the sleeves where they belong.
-
Tie a garment at the back with relative ease. Some dresses and tops have a tie at the back of the waist that makes the waistline fitted and therefore must be open to don/remove the garment. Bikinis and even some one-piece bathing suits tie at the back of the neck and sometimes the back of the chest. If you can tie a shoe, you can tie something in back too, and it should be the last of your worries.
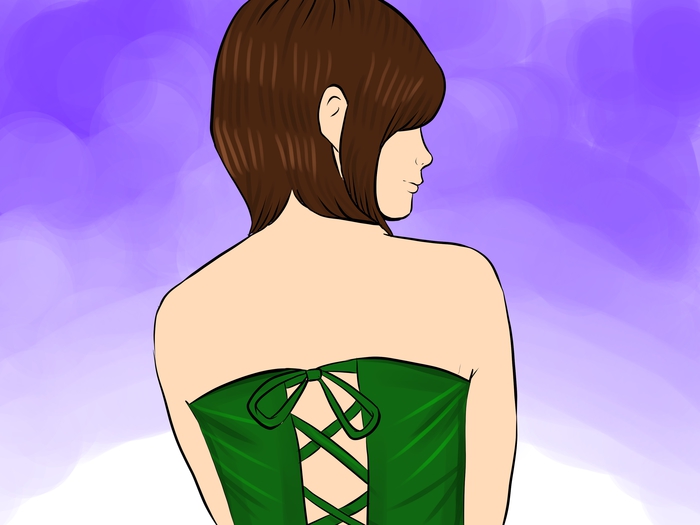
- Step 4 (using a mirror) may be good advice here until you get the feel of what you are doing.
- As mentioned above, for a bikini with a double tie, the tie in the back of the chest can be tied in front.
- Untying should be as easy as pulling a string unless you end up with an accidental knot. To untie a knot, follow the advice in step 6 for removing your arms from the sleeves then rotating. This will bring the knot up front, allowing you to work on it.
Tips
- Likewise, contrary to what one may think, a blouse made of polyester or a similar material with a single button in the back may be just as comfortable as a T-shirt, if not better. Pair it with jeans, and you can have the convenience or being 'dressed up' when need be while having the comfort of a T-shirt while relaxing.
- Garments with back closures are generally considered dressier, even when marketed to be worn casually. By wearing a garment with a back closure, you an increase the amount of respect you will get from others because it is dressier.
- If the weather is cool, most likely, you would want to wear pants. But if you are wearing a skirt or dress in colder weather, pair with leggings for warmth. Leggings are very comfortable and can also make your outfit look more attractive if matched correctly.
- Once you master all these skills, you will find that zipping the back of a dress or buttoning a single button at the back or a blouse will be much easier and faster than buttoning 6-7 buttons in the front of a button-down shirt. And what you're wearing will be far more comfortable.
- Contrary to what one may think, many back-zipping dresses are very comfortable (as are many other dresses). If the back zipper is not an issue to you, a dress that gets older can serve other purposes for you besides dressing up. It could be used as a house dress, pool dress, or nightgown. At the same time, it is probably suitable for running errands if need be.
- Garments with back closures are not the only dressy clothes that exist and are far from it. This article just gives tips for wearing them.
- Full back-zipping dresses are actually the easiest to get into of any garment type. When the zipper is fully open, simply hold the dress in front of you with the open back facing you, step inside, and zip. The same cannot be said about a dress that zips or buttons in front or is a pullover. This is great for those with good arms and not-so-good legs.
- Wearing a garment with a back closure can make you conveniently dressed up for when you need to be. For example, if you spend most of the day doing more leisurely activities that have no particular dress requirement, then go out later unplanned and must look more presentable, you will already be dressed up and not need to change.
- Garments with back closures of all the types described here are available on the marketplace to fit all budgets. They can be found just as easily in high-end retailers and discount stores. Regardless, the occasions they are generally designed for include work, parties, dates, get-togethers with friends, and formal events. They are also great for college campuses, errands, and religious services. Sundresses are great for any hot summer day in lieu of a tank top and shorts, thereby providing the advantage of one piece.
- Some sleeveless sundresses designed for warm weather can be worn as jumper dresses in cooler weather over a top of any sleeve length. If you choose to do this, you may need the dress in a size larger to allow room for the top underneath. Not all such dresses will look good this way, but some will.
- Some dresses, rather than having back zippers, have side zippers. One may deceptively think this is easier to zip, don, and remove. It is actually harder. Because the zipper is off to one side rather than being in the middle, it cannot be reached evenly by either arm. These zippers are usually on the left side of the garment. It is harder to bring the left arm close to it the full length and the right arm cannot reach all parts of the length easily either. The zipper pull tab dangling under the shoulder has an odd appearance, and the dress does not have the advantage or being able to be stepped into.
Warnings
- As with any garment, read the care instructions before washing and drying. Be sure to follow exactly what it says. The instructions are there for a reason. Some garments can be easily thrown in the washer and dryer as many times as you wish. Others require washing on a special cycle, cannot be dried in the dryer, or must be dry cleaned. Some garments can be ironed; others can't. The last thing you want to do is to damage your precious garment you love so much.
- Some jumpsuits and rompers zip or more rarely button in the back. (A "jumpsuit" is a one-piece pants garment and a "romper" is a one-piece shorts garment.) These can be among the most comfortable of garments to wear once they are on you. Many are so comfortable, they can be used for athletic activity. But they require unfastening and refastening each time you go to the bathroom. The same can be said for slacks or shorts that zip in the back, though they are easier. If you choose to wear such a garment, consider the ease for yourself and how often you will need to use the restroom on the day you wear it. Remember, you will feel awkward having to ask a stranger for help in public with your jumpsuit/romper.
- Ditto for throwing a dress on top of a one-piece bathing suit while traveling to/from the pool or beach. Since the bathing suit must be removed to use the restroom, so must the dress.
- Likewise, many women like to dress up when getting together with friends to, of all things, shop for clothes. And there is a good chance some of the clothes you will try on will have back closures. This article could be just what you need to get ready. Regardless of what you are shopping for, you want to be able to remove the garment you are wearing once you reach the fitting room, then get dressed again once you are done trying on clothes.