A sari is an Indian subcontinental women's garment originated and mainly worn in India. It has been worn historically many times, being the native dress of India. Today, there are several types of saris and many different fashions. The main section is about long, but don't let that frighten you! Dressing in a sari is very easy and it looks gorgeous on anybody.
Steps
Wearing it Nivi Style
-
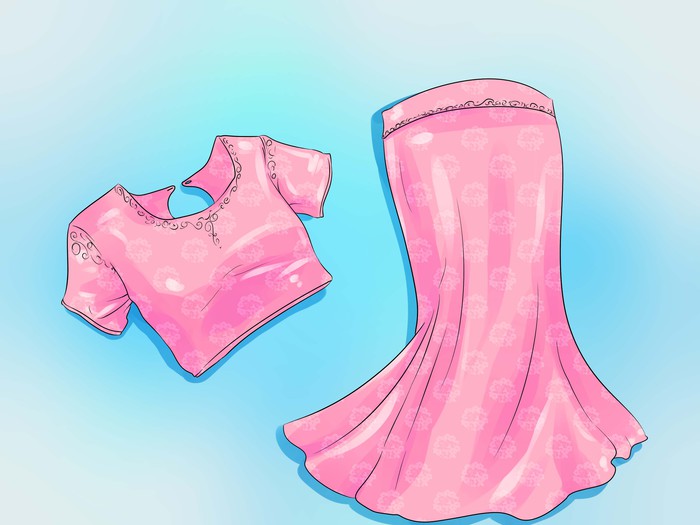
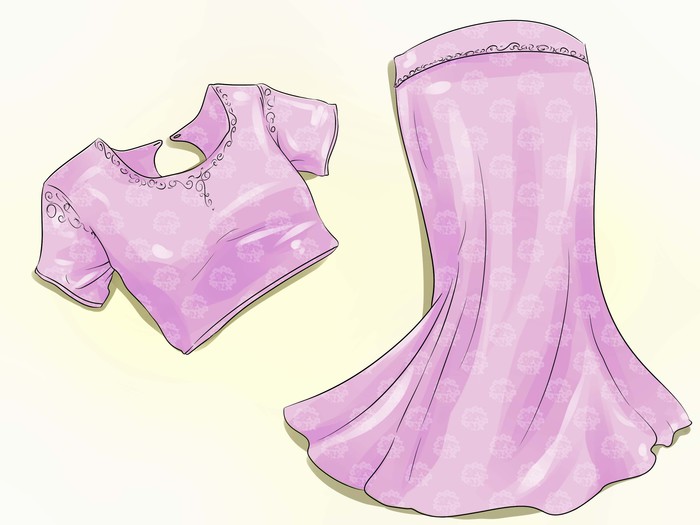
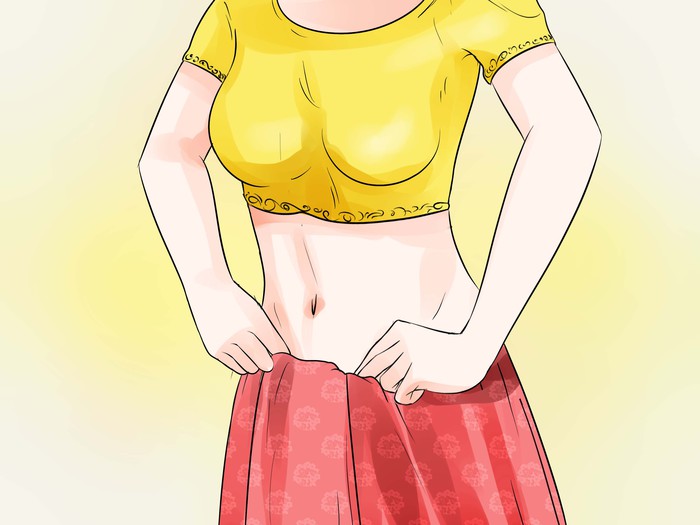
Start with having the right clothing on. You'll want to have your shirt or top on (such as a choli), your petticoat (sometimes called an inskirt) on and tied snug, and your shoes on before you start wrapping.
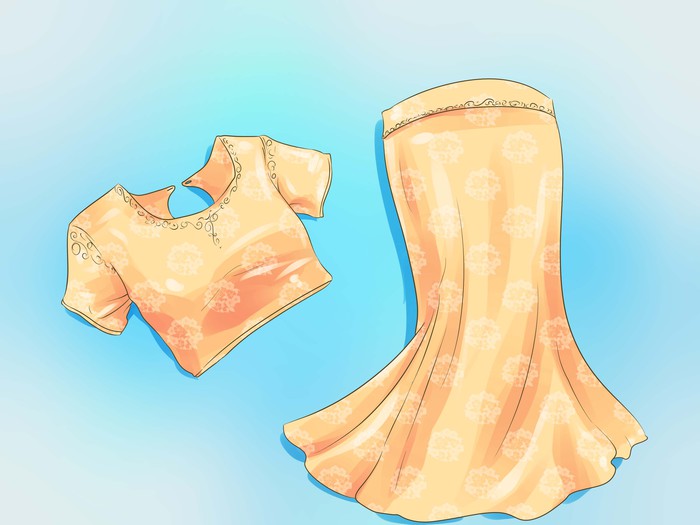
- While not necessarily required, safety pins make all sari wrapping much easier and better looking.
-
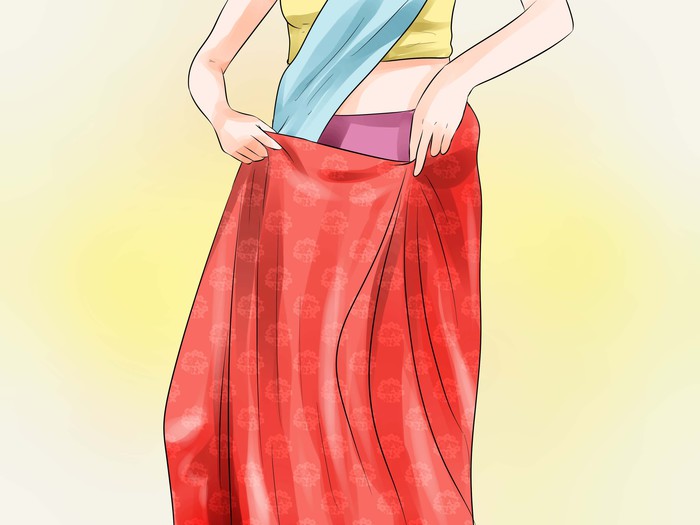
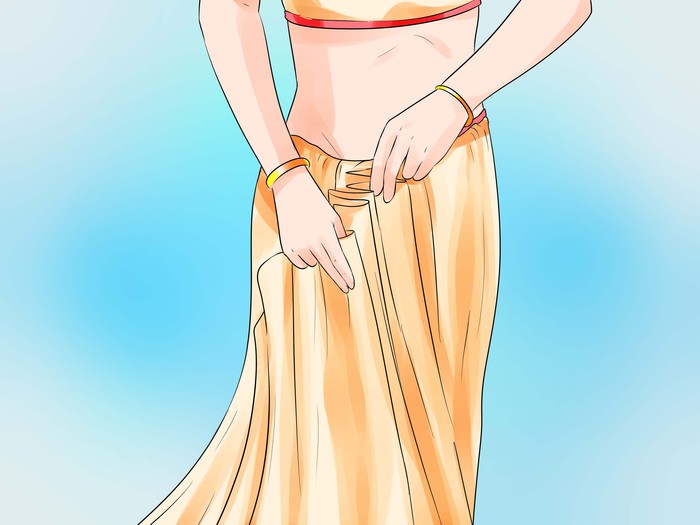
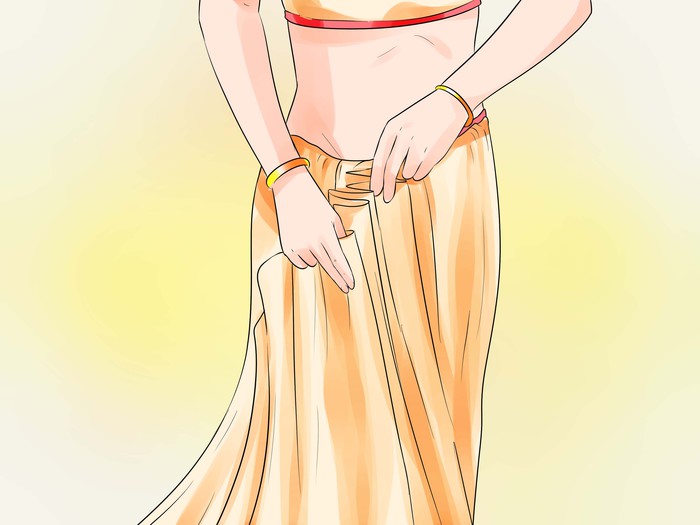
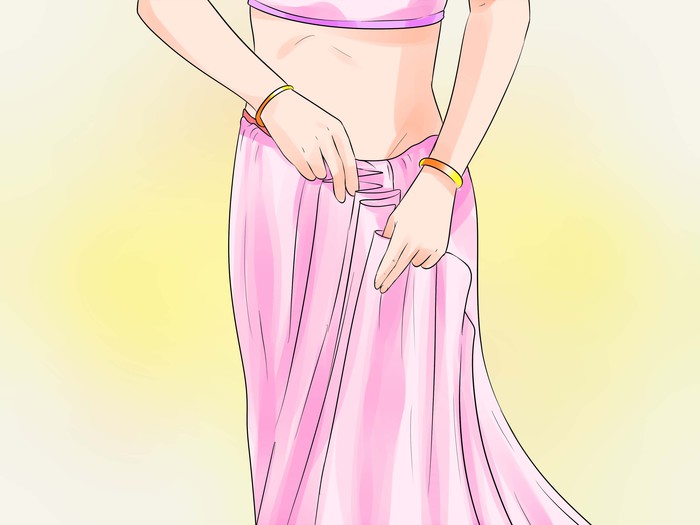
Wrap and tuck the starting end. Hold the sari so that the shorter distance goes from your waist to the floor and the long end can be wrapped around. Then, start at one end and tuck the corner of the fabric into your petticoat at your left hip, wrap it around behind you, over your right hip, past your navel, and around again until it reaches your navel once more. Continue to tuck it into your petticoat as you go around like this.
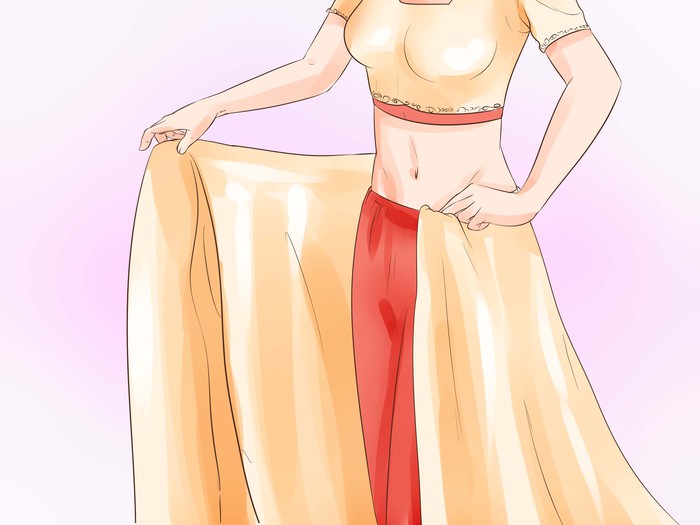
- You can use a safety pin to pin it into place at your waist right now, but the petticoat should be secure enough to hold it in place.
-
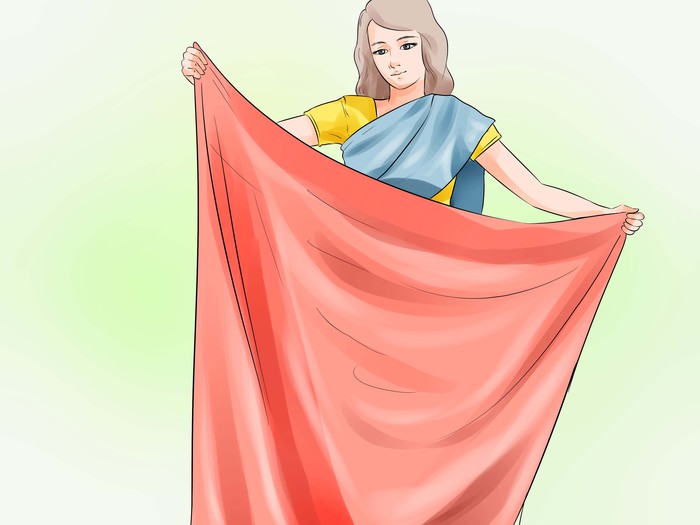
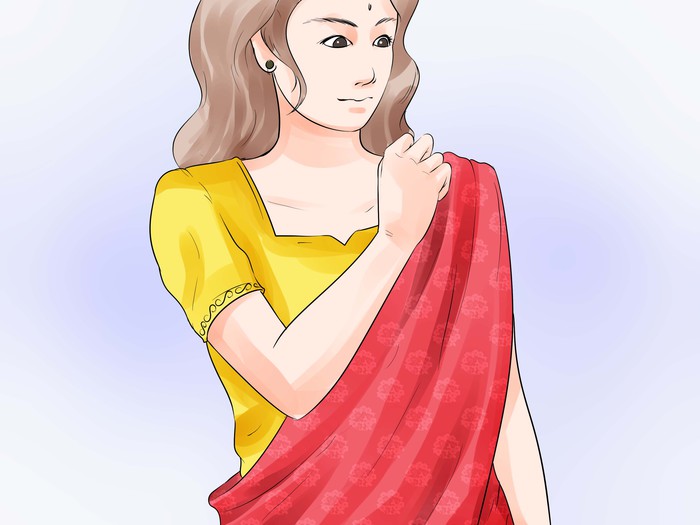
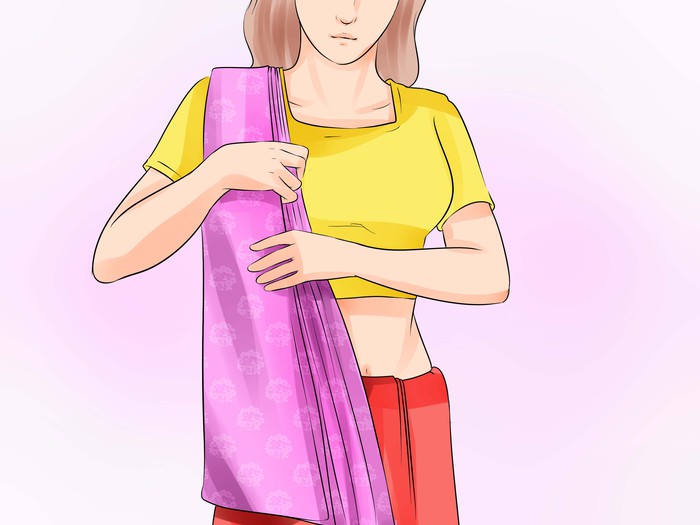
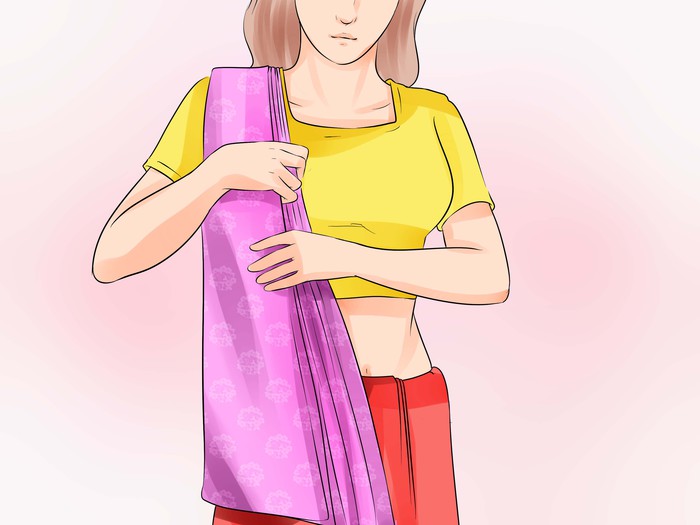
Pleat the other end. Switch to the other, more decorated end of the sari (called the pallu). You'll want to make the pleats that go over your shoulder. Do this by using your fingers span to space the pleats, and fold them across the short end of the sari.
- You can use a flat hair clip to keep the pleats in place until you're done with your look. Just don't forget to remove it later!
-
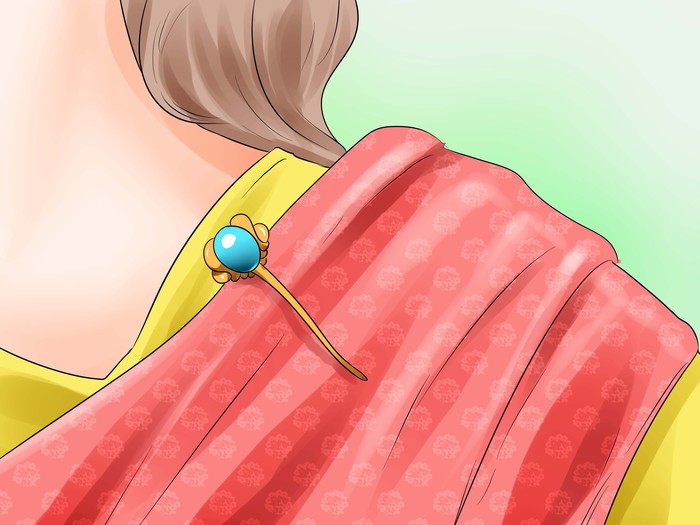
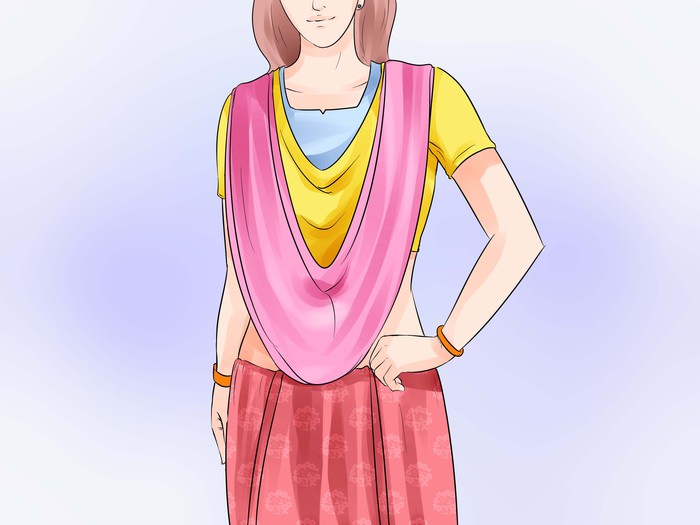
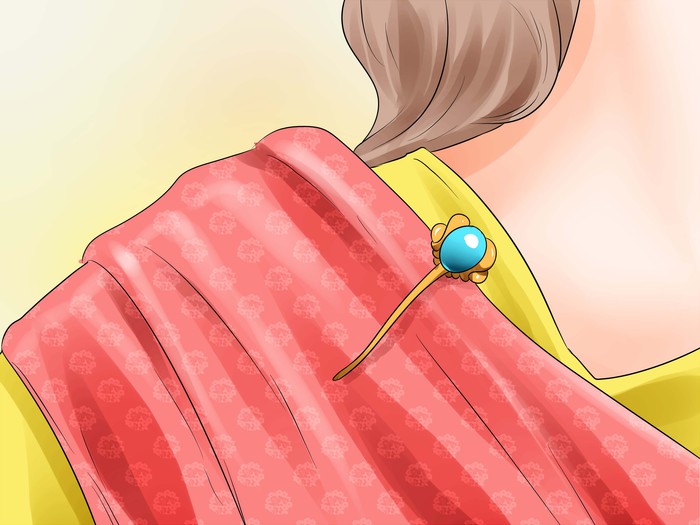
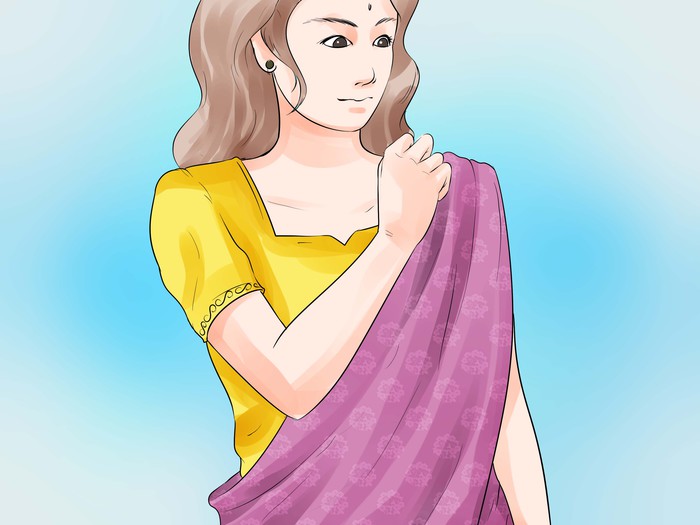
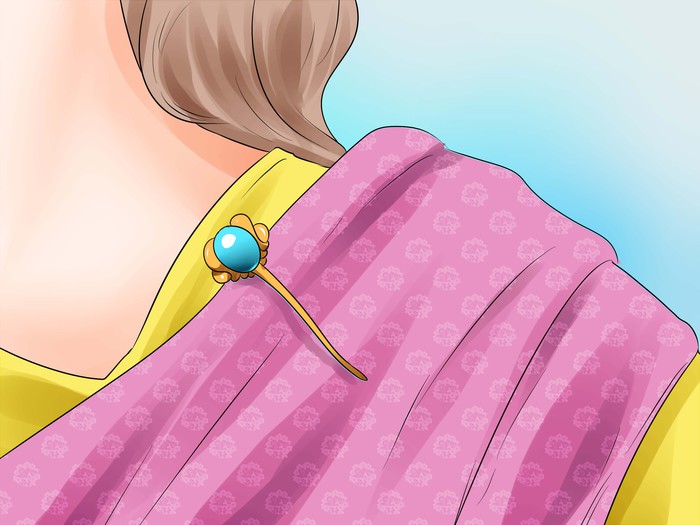
Drape and secure the pleated end. Reach the pleated section around behind you and drape the pleated end from the right hip and then over your left shoulder. Adjust it to the length you want and then pin it to the shoulder strap of your choli or top.

-
Cover and tuck the hip. Pulling the fabric from the top left of the skirt until it is taut at the back, drape it diagonally so that it covers your exposed love handle (or place where a love handle would be) and then tuck the fabric into the waistband at the navel.
-
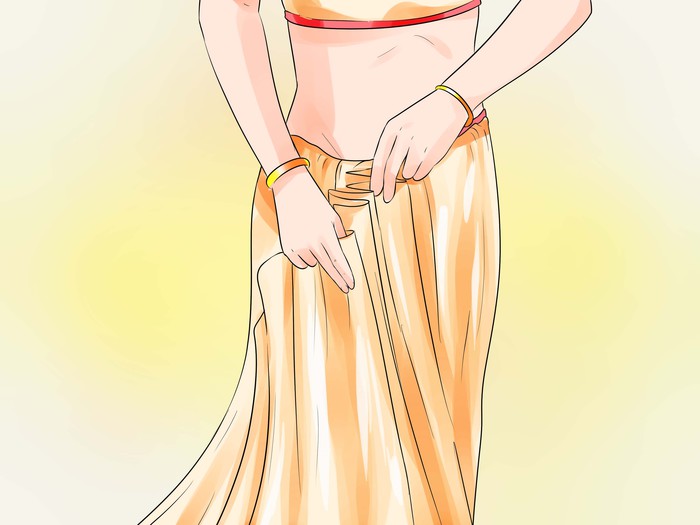
Pleat the remainder of the fabric. Adjust the fabric so that you have a loop in front of you of the fabric that is making up the waistline. Pleat this remaining fabric to reduce the size of the loop until it fits your waist. You do not need to pleat until it is very tight; a little loose fabric is desirable.
-
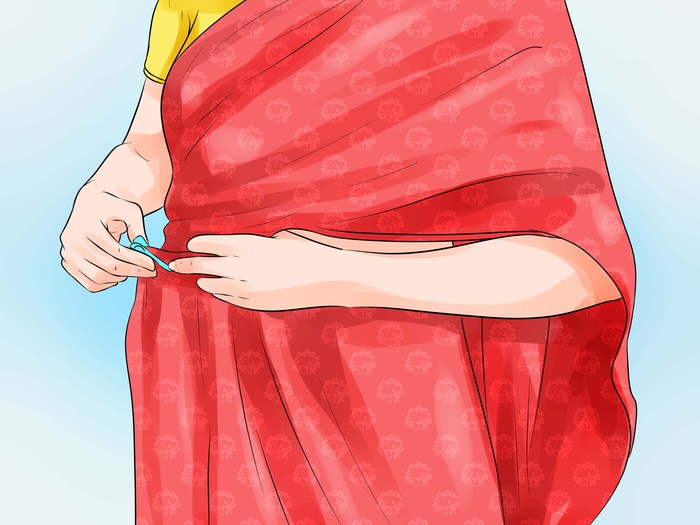
Tuck and pin the pleats. Pin the front skirt pleats together at the top, adjust them to match the length of the front of the skirt, and then tuck them into the waistband.
-
Pin it in place as necessary. You can pin your sari in more places if you want to make it more secure. A pin at the armpit on the right can help make sure it stays draped over your right breast, for example.
Wearing it Gujarati Style
-
Start with having the right clothing on. You'll want to have your shirt or top on (such as a choli), your petticoat (sometimes called an inskirt) on and tied snug, and your shoes on before you start wrapping.
- While not necessarily required, safety pins make all sari wrapping much easier and better looking.
-
Wrap and tuck the starting end. Hold the sari so that the shorter distance goes from your waist to the floor and the long end can be wrapped around. Then, start at one end and tuck the corner of the fabric into your petticoat at your left hip, wrap it around behind you, over your right hip, past your navel, and around again until it reaches your navel once more. Continue to tuck it into your petticoat as you go around like this.
- You can use a safety pin to pin it into place at your waist right now, but the petticoat should be secure enough to hold it in place.
-
Create the front pleats. With the fabric at your navel, make six-seven pleats. Adjust the pleats to face to the right side and then tuck in the pleats. Tuck any fabric necessary to get a clean look on the right hip.

-
Pleat the other end. Switch to the other, more decorated end of the sari (called the pallu). You'll want to make the pleats that go over your shoulder. Do this by using your fingers span to space the pleats, and fold them across the short end of the sari.
- You can use a flat hair clip to keep the pleats in place until you're done with your look. Just don't forget to remove it later!
-
Place the shoulder pleats. Wrap the pallu end around behind you and then drape it over the right shoulder. It should reach down to around the top of your leg, but you can adjust it to whatever suits you. Pin the pallu in place at the shoulder to secure it.
-
Shift the pleats. Take the left side of the pleats and draw them over to your left hip. Pin the corner in place there.
-
Adjust and pin any fabric as necessary. Adjust any fabric that remains until it looks tidy and ready to go. You can pin it in more places if you want the style to be more secure.
Wearing it Indo-Western Style
-
Start with having the right clothing on. With this style, you'll mix Indian and Western styles by wearing leggings or jeggings instead of a petticoat, and a clubbing style or other fancy top instead of a choli. Again, be sure to have your shoes on before you start wrapping.
-
Make a pleated section. Begin pleating down the long side of the sari until you have a decent sized section of pleats.
-
Tuck in the pleated section. Tuck the pleated section into the waistband, centered below your navel, such that the rest of the sari is coming from the innermost pleat and to the left. Then tuck along the waist further, until it reaches your spine or just to your right side.
-
Pleat the other end. Switch to and pleat the other end of the sari as normal, across the short side.
-
Wrap the shoulder section. Pass the shoulder section behind you and then wrap it so that it passes from your right hip and then over your left shoulder.
-
Adjust the fabric. Adjust the hang of the sari so that a deep U is created at the right hip and the shoulder pleats hang at a level that pleases you.
-
Pin it in place as needed. Pin it at your shoulder to keep the sari in place, as well as anywhere else you need to in order to get the drape you want. Enjoy your new sari style!
Tips
- Try wearing bangles with your sari to bring attention away from your bare arms.
- Wear the sari long, so that only the tips of your toes show. A short sari with visible ankles does not look very elegant. Think of a sari as you would an evening gown.
- Accessorize more with simple or plain saris, and less for saris that are heavier and a little more fancier.
- You can pin your sari to your petticoat just below the right armpit (the side opposite to the shoulder on which you have the pallu), or better a little bit to the back. This prevents the sari slipping off your left breast.
- You can get a beautiful lace-embellished petticoat or add lace to an ordinary one. It looks sexy when accidentally exposed while climbing steps, etc. Such petticoats were worn in India by wealthy women in the times of the British empire.
- You can get someone to kneel on the floor before you and make sure that your pleats are even at the bottom. Then, with them holding the bottom of the pleats, tuck in the top part into your waist.
- The sari will look better if it matches your shoes.
- There are many other ways to dress in a sari. For example, you can be creative when you are taking your pallu. You can take it from the back of your right shoulder and let it fall in front, or take it back and let it fall after draping it on your neck.
- For your first time, choose a sari of synthetic material that is easy to drape and wear.
- Some tuck in the pleats right in the center front, and some place them so that they begin at the front and end on the left side. Both ways are correct.
- The pallu should come over from your left shoulder and fall on your back.
- Similarly, there are innumerable ways of draping a sari. Be creative!
- You can attach the pleats to your petticoat with safety pins.
- Wear it with elegant sandals, boots, or any other elegant shoe. No sneakers please !
- Most people can never get the first pleat just right. So, after tucking in the pleats at the waist, pull out the first pleat, pull the material towards the right and tuck it behind your back.
- You can wear an embellished blouse, and expose it a bit for a more attractive look.
- On the pleating, you can "cheat" and make your first pleat by just folding and then start winding.
- Normally, the sari is a bit longer in the back than in the front. In the back, your sari should almost reach the floor.
- Wear a tank top below it. The strap showing on the exposed shoulder looks great.
Warnings
- Make sure your pleats are deep enough. Otherwise, you may have problems walking without having them slip out.
- Make sure that your pleats are clean! Uneven pleats give an awkward appearance.
- Make sure to pin your sari to your blouse because if it falls, it will be considered taboo.
- The petticoat should never be visible from under the sari when you stand.
- A starched cotton or tissue sari is for the pros, as it can get crushed easily. So is an extremely slinky, hard-to-drape material.
- When bringing the pallu over your shoulder, make sure the bit behind falls above your knee, or you may trip.
- Be sure that your petticoat is tight! It's better to be a bit too tight, than too loose. Otherwise, your sari will start sagging, and the pleats will come out.
- Make sure that the fall is on the inside near your feet.
Things You'll Need
- A sari
- A blouse
- A petticoat
- Safety pins
- Shoes